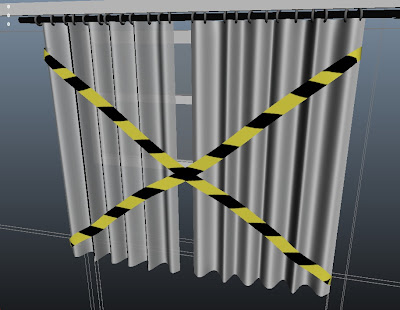
the animation for heroes is almost done, but there are a few things which still need to be added, earlier on in the year i was experimenting with ncloth with curtains, but they i decided not to have them working throughout the whole film as it would slow rendering down LOADS!! so what i did was just keep the mesh and delete the curtains, i have imported it in this scene so rendering could start when everything was ready. ive also had to model tapes to cover the window, as seen in the anamatic.
here is what it looks like at the moment.
i would upload the UV map but its just a simple long rectangle and no UV mapping had to be done.
Thursday, 19 May 2011
Ocean Shader tests
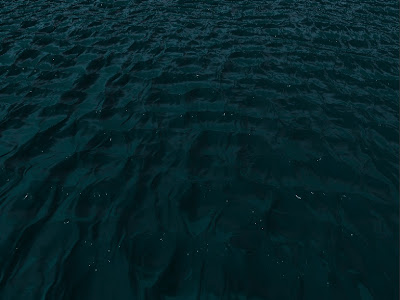
I have had a go at this because Mariluz hasnt been able to get it right, no one has asked me to but i think its worth a try and see if can do any better. i havent tried doing sea shaders before but i know that they are pretty hard on your machine. this is what ive managed to render. as you can see its pretty simple, ive also learnt that this shader can not be animated, as it all changes at once and it looks really unrealistic.
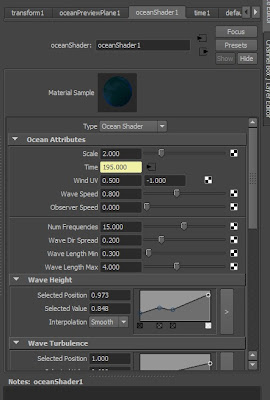
to get this result, which i must admit isnt that good, ive applied the following attributes.
the most important atributes which i learnt about was probably the scale attribute and the Num Frequency as these affect the detail given out by the shader, its a good thing to play with when youre getting closes ups of the shader animating. a good number would be 45k, this will give you a very realistic movement, and when you turn the transparency up you get an amazing shot.
here is just a single shot of what i mean,
Monday, 9 May 2011
Windmill for the The Deep
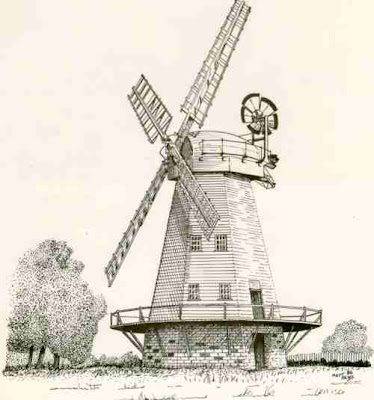
We have been asked by andy to model a few buildings for the exterior shot in The Deep, the shot where kid walks down to the sub. here is what i have worked from to make my windmill.
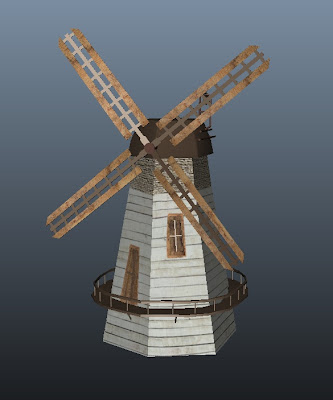
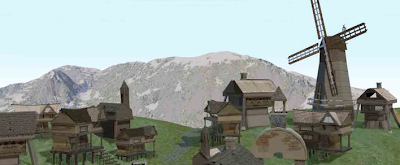
i know that my final design doesnt really come close to that but i think cos its going to be seen from far away it wont matter much. here is what i came up with.
even tho its not much i think its a nice attempt.
here is what it looks like when Keith uploaded it to the scene
i know that my final design doesnt really come close to that but i think cos its going to be seen from far away it wont matter much. here is what i came up with.
even tho its not much i think its a nice attempt.
here is what it looks like when Keith uploaded it to the scene
Monday, 2 May 2011
Cape for heroes1.0
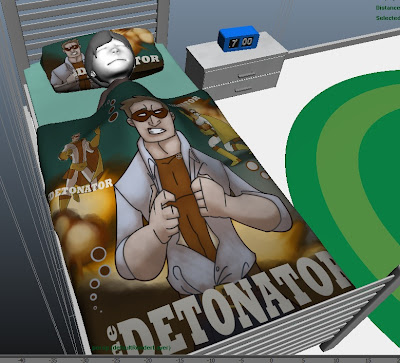
We encountered a problem when we were animating shot 19, the problem was the cape which the kid uses. in the animatic he uses the bedsheets to rap around his neck, and its a red sheet. but when i was texturing the bed i came up with this design using some of Andrew's art work. its far from what we had come up with in the earlier stages of the project but we all felt like it was a good improvement and that it added more character to the kids room. here is a pic
as you can see, this would look rather odd rapped around his neck like a cape, so i thought that we could solve this problem by simply adding something else to the bed, like a towel or a robe.
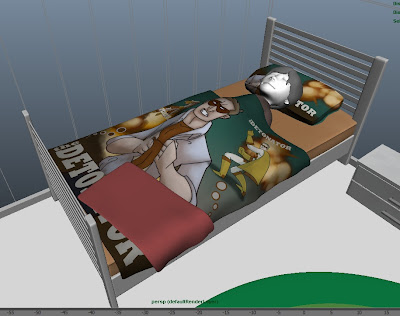
this is what i did to get things back on track before rendering could start.
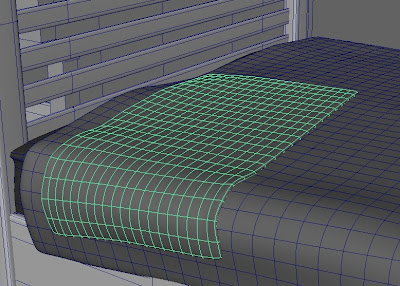
i made this by creating a polygon plane, adding nCloth to it, adding the already existing solves and nucleus, extruding the faces up a little to add thickness, and smoothing it out. i then played it in the timeline for it to start the animation, when i was happy with the position in duplicated it, and deleted the original mesh. this gave me a clean geometry and it wouldnt interact anymore. its only really for show anyway.
here is what it looks like on the bed
Sunday, 1 May 2011
Texturing the power plant.
After finishing with the modelleling of the factory we needed to have it textured. i started to use shaders to add affects, but i couldn't get any good results, i didnt know whether it was down to the objects not being uv mapped but it just didnt work right.
i resulted in creating textures for the factory. i started by looking in CG textures.com for industrial buildings to get a feel of what i needed to get.
here is my first attempt to develop the texture for the main structure
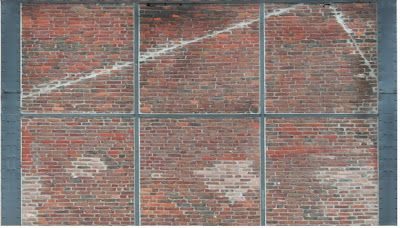
i plan to use this around the whole factory base.
the next texture is of the top half of the building
this is made from a collection of textures i had already gathered.
im trying to keep it simple as the factory will be seen from afar. this is what it looks like on the bulding
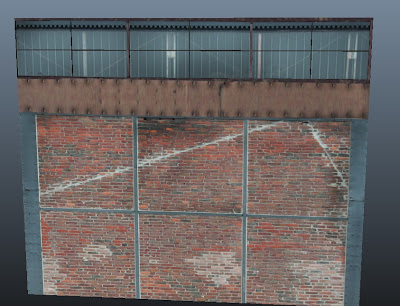
ive used the burn tool in photoshop to add patches making it a little darker in areas.
i used most of the textures from the first side to make the rest of the building. here is texture 2
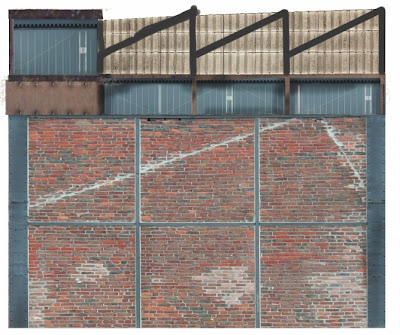
this is what the texture looks like on the building
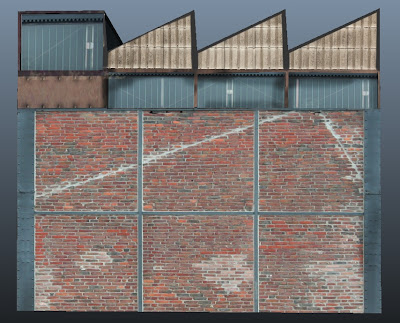
the roof was also very simple to do, once i add bump maps to these textures, the model will really come to life.
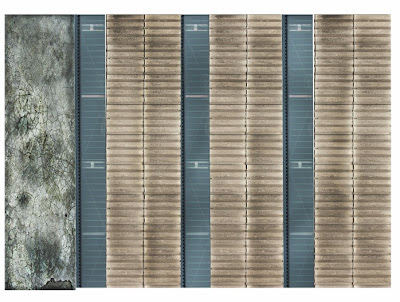
here is what the roof textures looks on the model
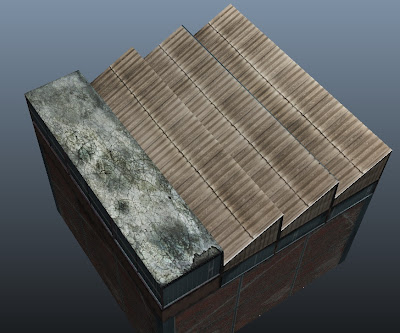
as you can see at this stage the building was really coming along well. i showed kofi and he was very happy with the look of the factory.
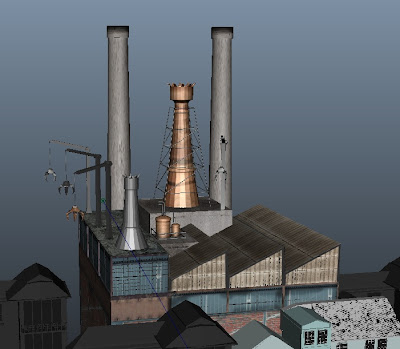
i have added a few shaders there but im not happy with them at all. they look too pixelated compared to the rest of the building. but as you can see, it looks pretty good so far.
Subscribe to:
Posts (Atom)