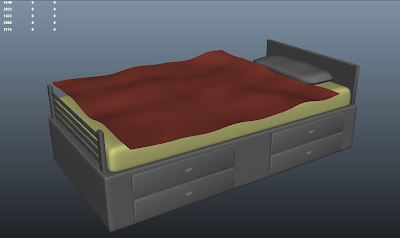
In the image above you can see the stage after I have created nCloth in Maya, at this stage all that is happening is the default gravity in Maya is pulling the cloth down. I found that it will not interact with its surroundings, in the case the bed, if you don't tell it to. To allow objects in the scene to interact with the cloth I needed to add to the object the tool called Create passive collider. This will allow the cloth to land and take from around the object.
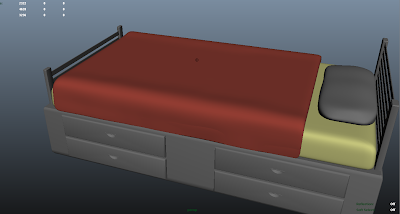
at this point in the task I found myself trying to make the cloth stay on the bed, as you can see in the image below the cloth is sliding off to one side, I tried a number of things like trying to key frame is position to stop it falling off, this didn't work and I found myself searching through the internet. After a long while I found that when you add the Create passive collider to an object it creates preferences allowing you to increase certain options on the object. These options are Bounce, friction and stickiness.
What I found when upping the Bounce up to a higher number then 0.050 you will get a slight bounce of the mattress when the cloth hit it, which in real life does not happen. I turned this option all the way down. When it came to friction I found that I had found the answer to myearlier problem, when I turned this up and played my animation through the cloth stayed on the bed and did not slide off. I was very pleased with the results. stickiness is the opposite to the bounce option, it means that if the cloth hit it once then it would stay in that position and not move, it would also have very little influence when it becomes effected by Maya fields such as wind or gravity.
It seemed like the more and more I looked into nCloth and its options the more and more problems my cloth got. After close inspection I realised that I was getting mesh deforming into itself, the image below shows what I mean with this problem.
I found out that this is called clipping and its very common when using nCloth, there are options to pain on thickness where is happens but I know that it's not too noticeable when the cloth is thinner, as you can see its way thick in my project. I will later try and thick this by scaling the mesh down.
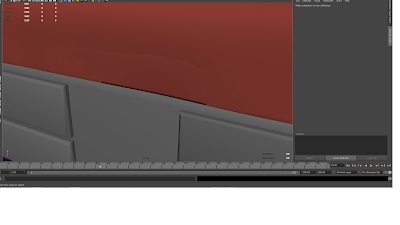
I came across a rather simple problem when it came to nCloth; this was that I couldn't change the colour of my Lambert! It's usually in the attribute editor but it just wasn't there, I was stuck with red if Kofi asked for a different colour. As you can see there is no Lambert attribute menu.
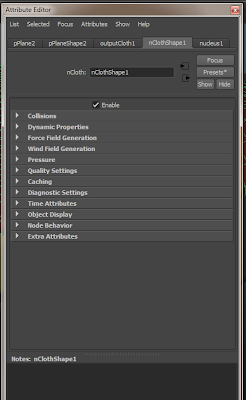
I researched how to do it and I kept finding AE display under the nCloth submenu, however, these were all on earlier versions of Maya and in Maya 2011 it wasn't there. After a few hours of trying I found myself in the help menu of Maya and asking for AE Display, this is what came up
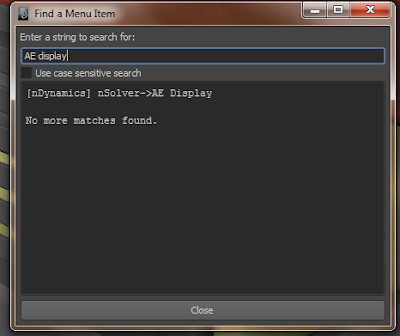
another problem solved. I could now change the colour of my mesh! (I later found out that I could have also used the hypershade)
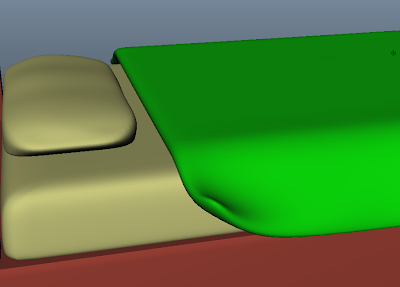
While doing my research I came across a very interesting tool which allowed me to play with the mesh while it was being animated. For example I could interact with it mess with my passive colliders such as the mattress.
In the pictures bellow I tried to show what I meant. The tool is called interactive playback, and I used it to quickly move the mattress up then down to get result shown bellow. I know it won't seem clear but the mesh actually turned almost 360.
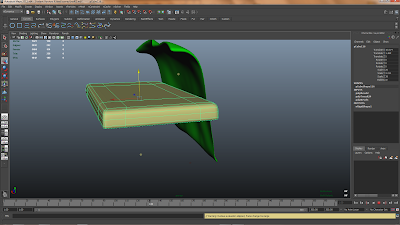
This next image is of another interactive playback test, I tried a smoother approach and let the cloth deform slowly, it wasn't a perfect deformation but I could see how the gravity was affecting the cloth.
It was quite fun!
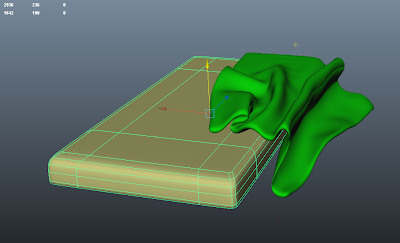
My next problem with nCloth was this strange space that was leaving between the mesh and the passive collider,
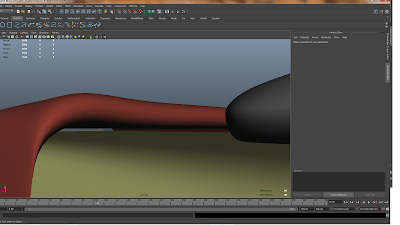
I must admit I almost gave up on this one, what I found that kind of work but reset itself each time was moving the passive collider to the right place once the mesh had settled, this was obviously pointless and could not be used in a final film. The gap was really annoying.
what I found was that in the attribute editor you have an option of seeing the collision thinness, this is available for both nCloth mesh and Passive colliders, if you look under collisions> solver display you can see that right now it's turned off so I cant much at the moment.
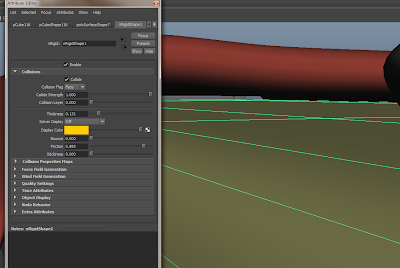
As I turned it on for both mesh and passive collider this is what happened
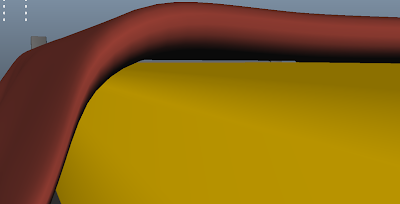
As you can see I got an orange mesh appear, this is showing me where the objects will come to rest, in other words, the spaces that have been a bother.
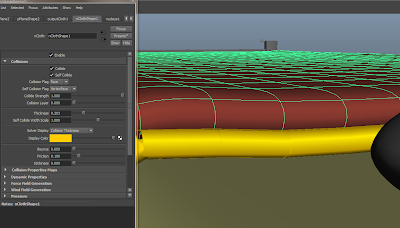
I lowered the thinness for the and I got the result I wanted, it was quite hard knowing where I needed to stop becasue I couldn't see the original objects, I had to switch to wireframe to get a better idea. This is how it turned out.
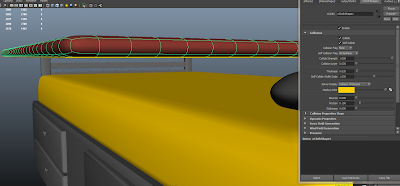

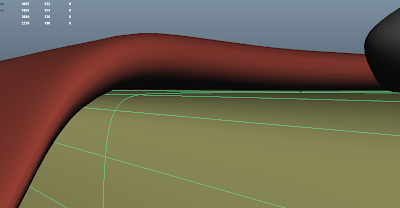
Problem solved!!
There are other aspects of nCloth which i still need to tackle, i need to be able to pick it up from a corner and have it move naturally incase thats what kofi wants, this is as far as I have gotten with character interaction
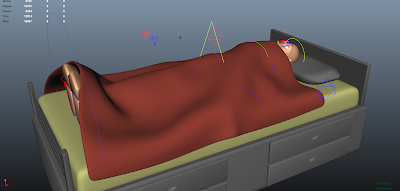
It's not much but I believe with a little bit more parctise it can be done.
No comments:
Post a Comment